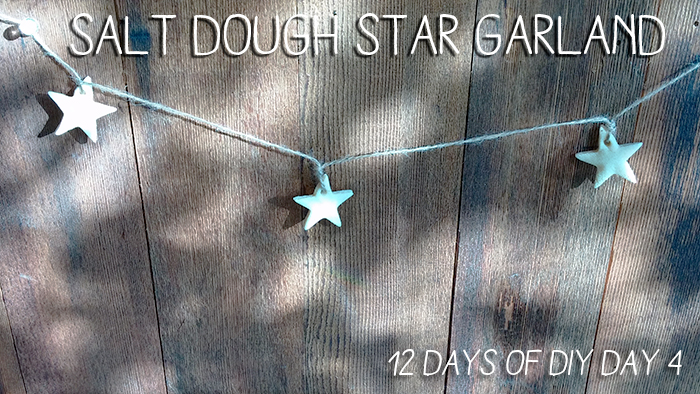
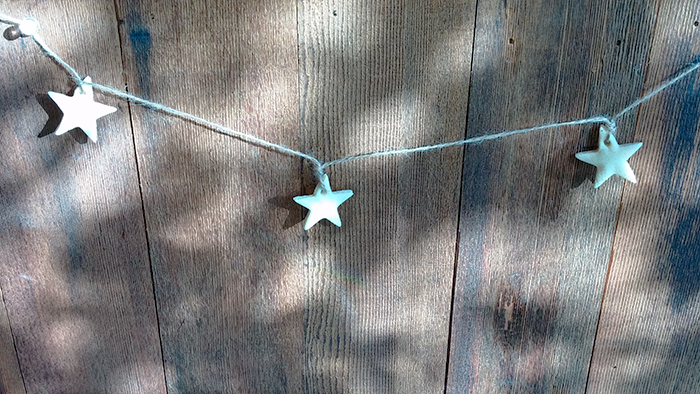
Today we have a very pretty and simple garland. The ingredients are few, and are things you typically have around your house anyway. You can make a multitude of ornaments out of salt dough, but in order to give our tree a little bit of diversity, I chose to make a garland. We also completed a hand-print salt dough ornament last year.
What you need:
– Salt dough (uses flour, salt, and water: recipe here)
– Cookie Cutters
– String or twine
– Paint or markers if you choose to decorate your cutouts
– Ornament hangers if you make individual ornaments
Things that make this easier: rolling pin, parchment paper
Step 1: Roll out dough and cut your shapes.
Roll out the salt dough (recipe here) on a flat surface. It is easy but not necessary to use a rolling pin and parchment paper for this task, but you could easily use a broom handle and a starched surface. Use the cookie cutters of your choice to cut out shapes for your ornaments. If you choose to make a garland like mine, I used 12 small stars. You can buy cookie cutters at the dollar store for 99 cents, or Target has a set of minis for $3 right now in the holiday aisle.
Step 2: Place your star cut outs on a baking sheet and make a small hole in one corner.
For bigger shapes, a straw works really well to cut the holes. The stars, however, were to small to use my typical straw method (although one of those red coffee stirring straws would have worked). Instead, I used the back of a paintbrush to poke a small hole.
Step 3: Bake at 200 degrees in your oven for at least two hours. I forgot about mine and left them in for about 3- it wasn’t a problem.
They turn a little yellow in the baking process, which isn’t necessarily a bad thing. I like a more rustic look, so I left them as they are. If you choose, you can seal them with glossy modge podge or even paint them or color on them at this point.
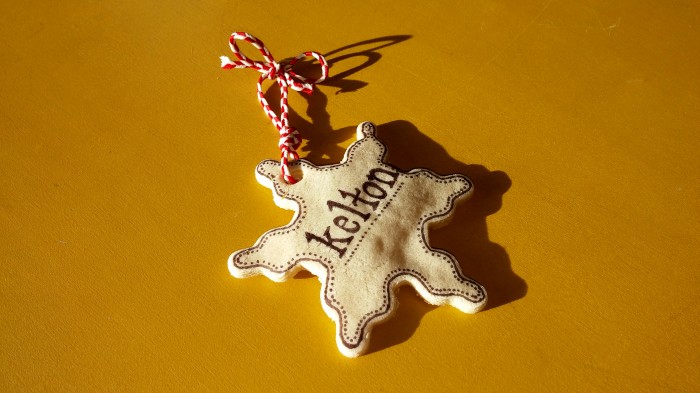
You can make bigger ornaments like this one, using a fine point sharpie (made this one for my son), or give them to kids to paint:
Step 4: Cut a length of ribbon, string, or twine, and string all the stars on to it.
Twine fit nicely through my little holes and fits with the overall rustic glam look of the $25 Christmas Tree we’re assembling through the first 5 DIY projects in this series. I guesstimated the length based on about a 10″ gap between stars, and measured out 12 lengths of what looked like 10″ to me.
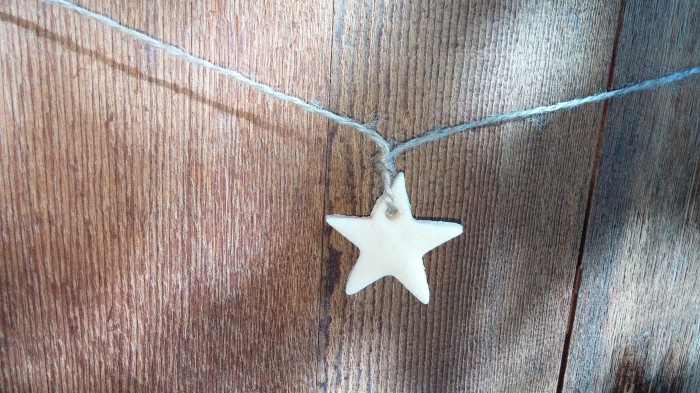
Step 5: Evenly space the salt dough stars on the garland, and then tie them in place.
The best way to tie them is to hold the star and pull both sides of the twin upwards, and then tie a regular knot that way (rather than beginning a shoelace knot). Even though I used to sail, I can’t remember the name of these knots, so I just took pictures instead.
Step 6: Hang your garland and enjoy!
This is a pretty easy one too. My toddler helped me cut out the stars (his little chubby hands are a cameo in the materials pictures- he really liked the cookie cutters). We played an “identify this shape” game throughout, and learned the word for a star.
I’d do 2 or 3 of these garlands for a tree. One really long one can be kind of hard to execute, and gets tangled easily.
Up tomorrow: our final decoration for the $25 Christmas Tree! Big reveal soon.
Current 12 Days of DIY for the $25 Christmas Tree include:
Upcoming:
Check out the 2013 12 Days of DIY:
Rosemary Peppermint Sugar Scrub
3 Quick Cinnamon Stick Decorations
Salt Dough Handprint Ornaments
Christmas Scent and Hot Toddies
