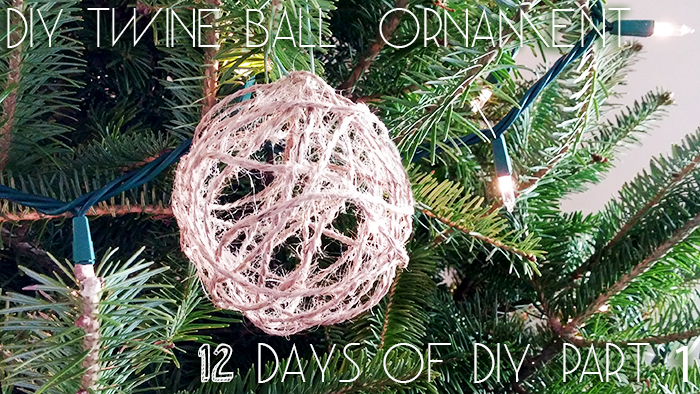
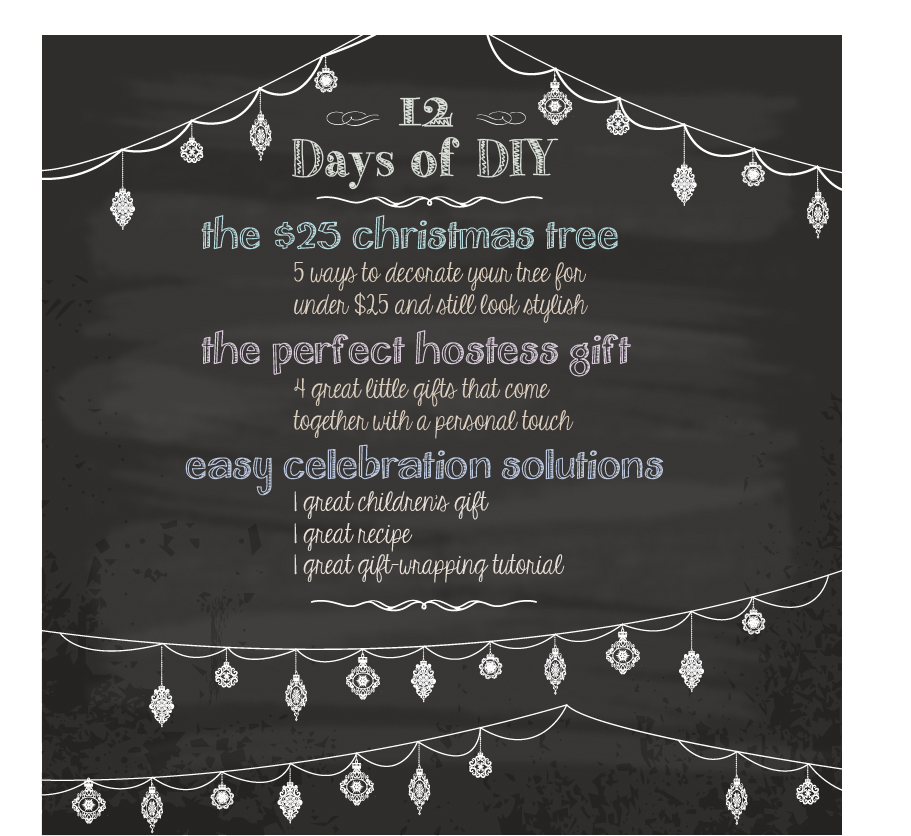
Happy 12 Days of DIY!
Day 1:DIY Twine Ball
We’re going to learn how to decorate a Christmas tree for $25 and look super-stylish. I have 5 DIY projects that will help your tree to the next level!
The twine ball is a great activity to involve children in making- it has very few ingredients and steps, and looks fantastic. Modge podge is also super easy to clean. My two year old helped me apply the glue.
The cost of this project is approximately $6-7. I already had some modge podge/decoupage paste, and some dollar store water balloons, and leftover ornament hangars, so the project only cost me $2.50 for the twine. Making the ornament took maybe fifteen minutes all said and done. You could easily make a couple batches at the same time, so that you had multiple twine balls throughout your tree (recommended). This project is definitely a staple of rustic-looking homemade Christmas ornaments, although it could easily be used year-round for any holiday.
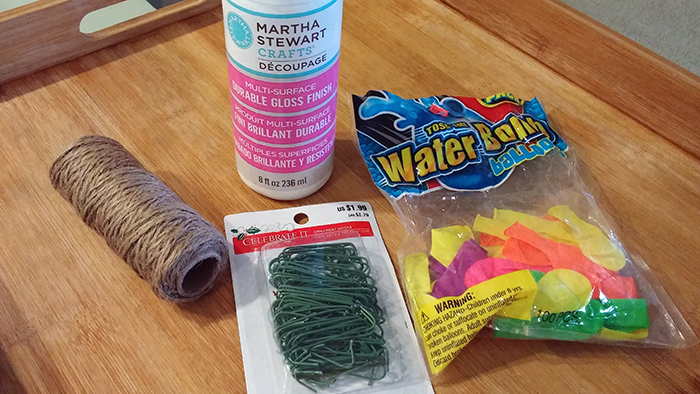
Step 1: Materials
– Twine (any width is fine)
– Modge Podge or decoupage; you can get the glittery kind if you like. I use Martha Stewart glossy finish, as I already had it.
– Ornament hangars
– Balloons; I had water balloons lying around, however you may use regular balloons as well.
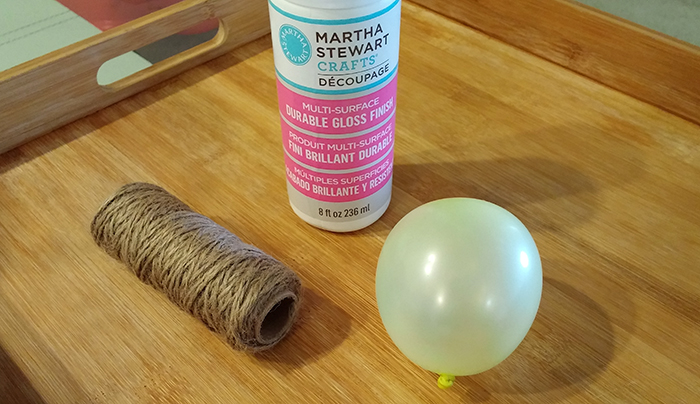
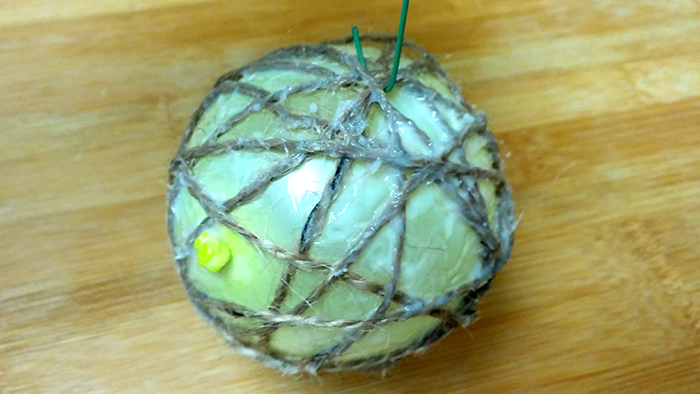
Step 2: Blow up the balloon and affix the twine
Blow up balloon to ornament-size.
Wrap a piece of twine around the middle of the balloon, tucking the end underneath and wrapping it around.

Using a paint brush (or if unavailable, I used a silicone glazing brush leftover from my Thanksgiving turkey) liberally apply the decoupage paste so that you can’t really see where the end of the twine is. My twine loop moved around a little on the balloon- this is okay. With enough decoupage it gets damp and stays in place a little better. Don’t do it tight, as you won’t end up with a round ball in the end.
Step 3: Loosely loop the twine around the balloon and liberally apply decoupage paste.
Keep looping the twine around the balloon, liberally applying paste the whole time, and tie the twine off the same way you started.
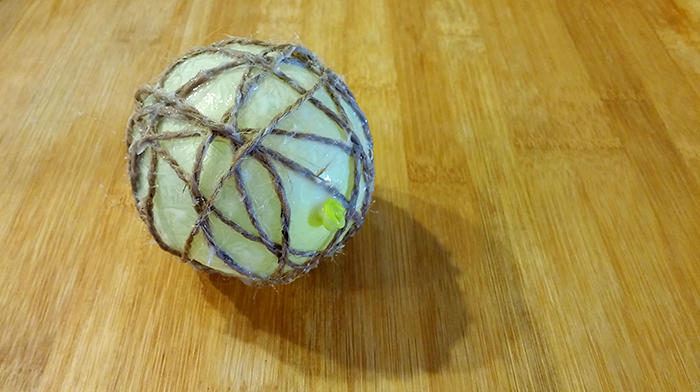
If you see any dry bits, cover them up.
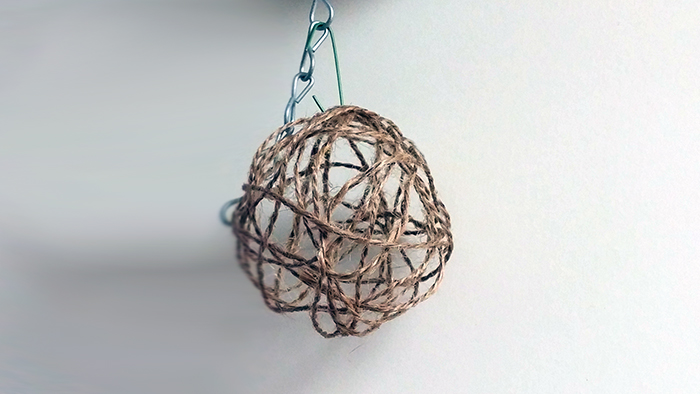
Step 4: Hang the ball to dry, then pop balloon
Using the ornament hanger, hang the ball to dry.
Wait until fully dry (if damp, will stick to balloon), and pop the balloon. Remove any pieces.
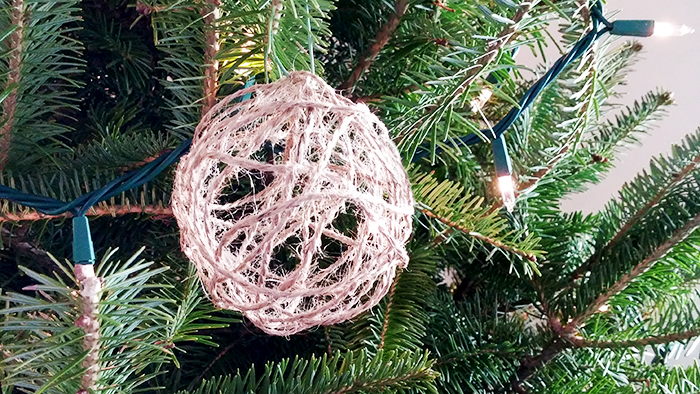
Step 6: Hang ball on tree, and repeat process to produce as many ornaments as you desire.
Coming up:
Check out the 2013 12 Days of DIY:
Rosemary Peppermint Sugar Scrub
3 Quick Cinnamon Stick Decorations
Salt Dough Handprint Ornaments
Christmas Scent and Hot Toddies