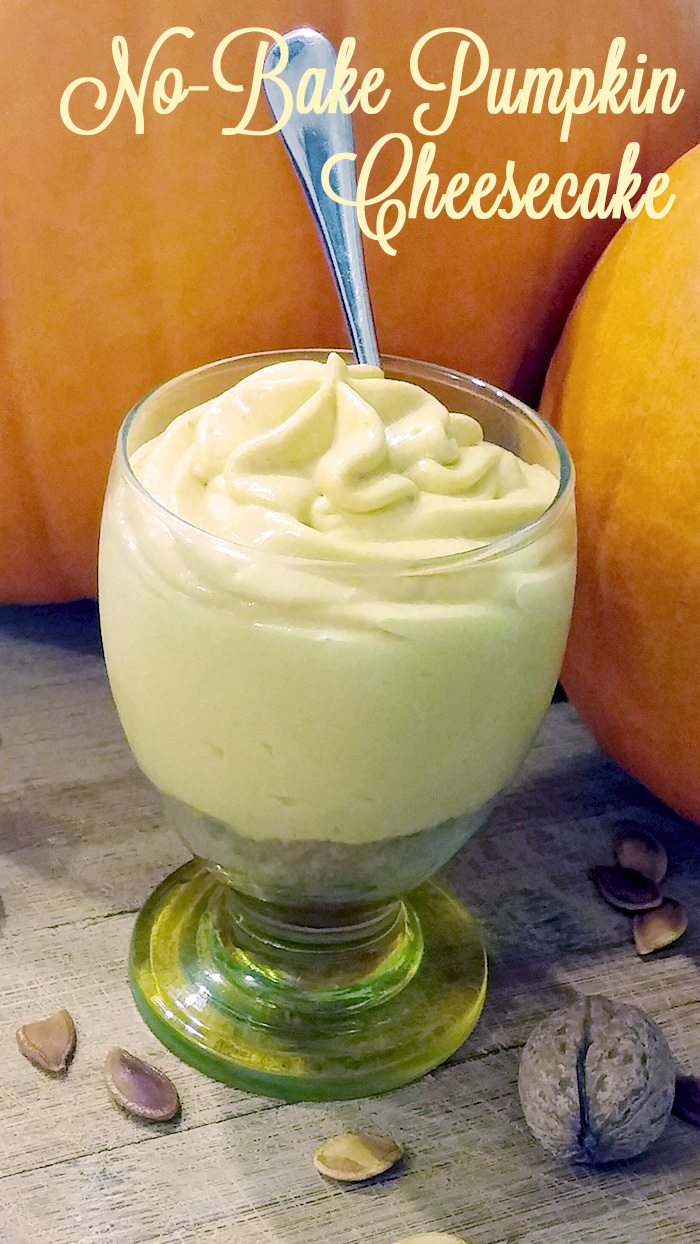
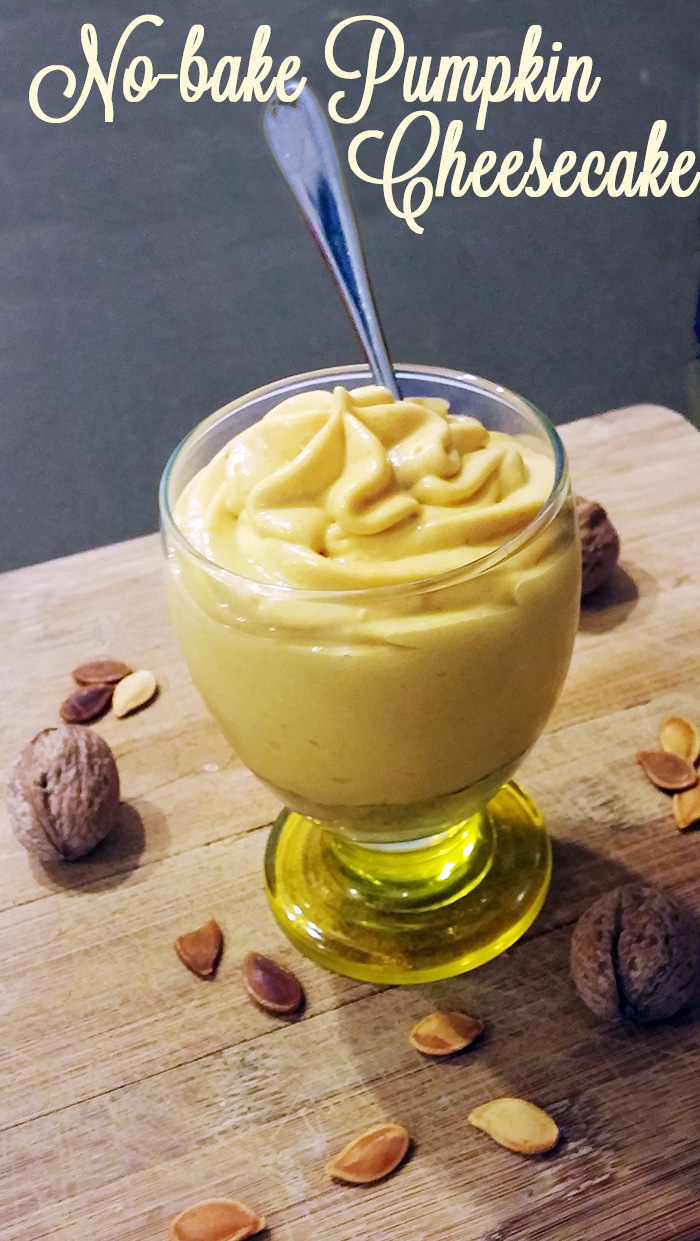
DIY: No-fuss, No-bake Pumpkin Cheesecake Recipe
I kept seeing this awesome pin floating around Pinterest of this no-bake pumpkin cheesecake, but I wasn’t super fond of some of the methods or ingredients (Cool-Whip) used. For one, I don’t own a fancy stand mixer. I have a $15 hand held blender that works just fine most of the time. I also don’t have a food processor. So, I decided to take a stab at this recipe using low-tech methods and substituting an ingredient- it came out superb. I will definitely be pulling this recipe back out for Thanksgiving!
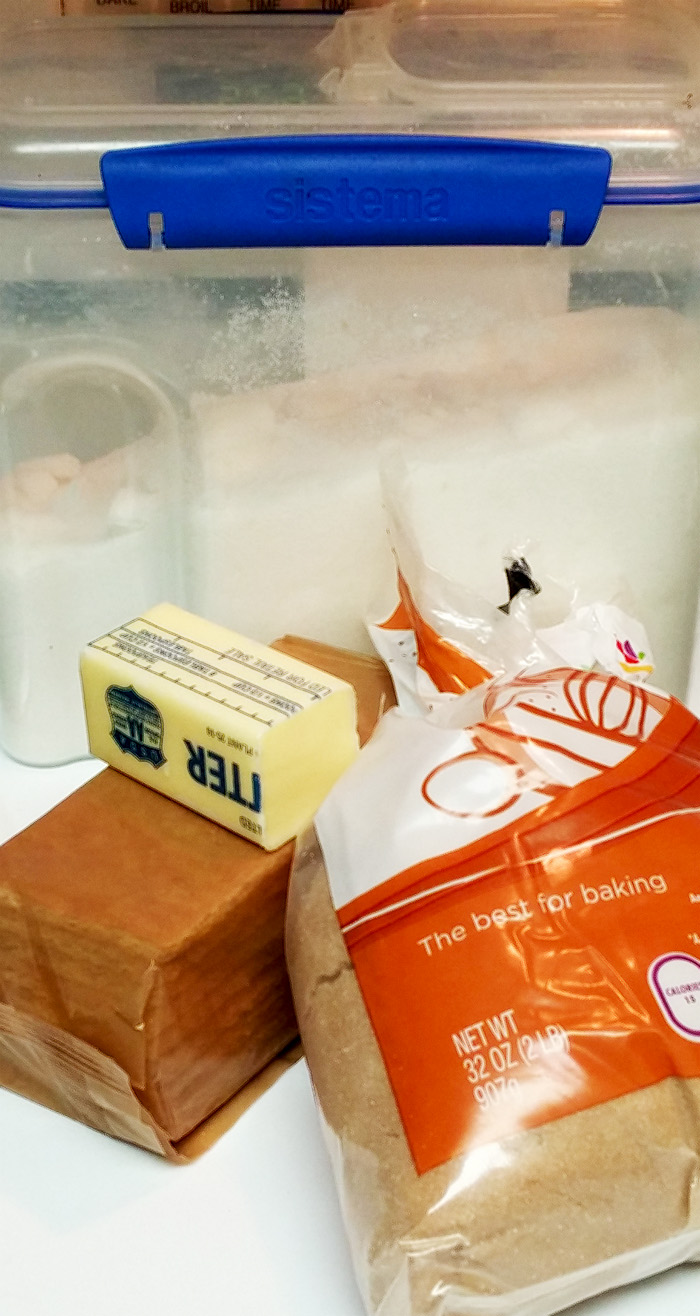
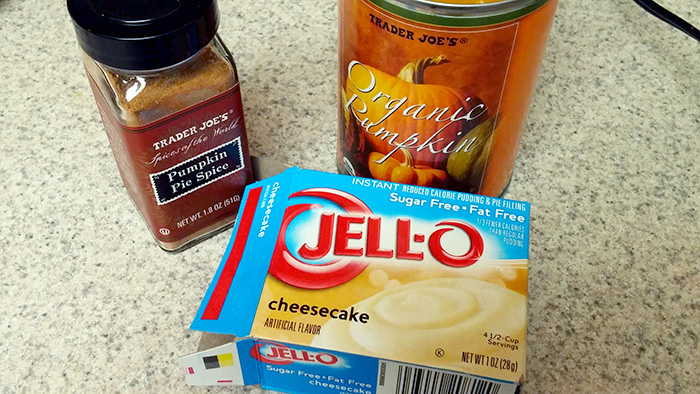
Step 1: Ingredients

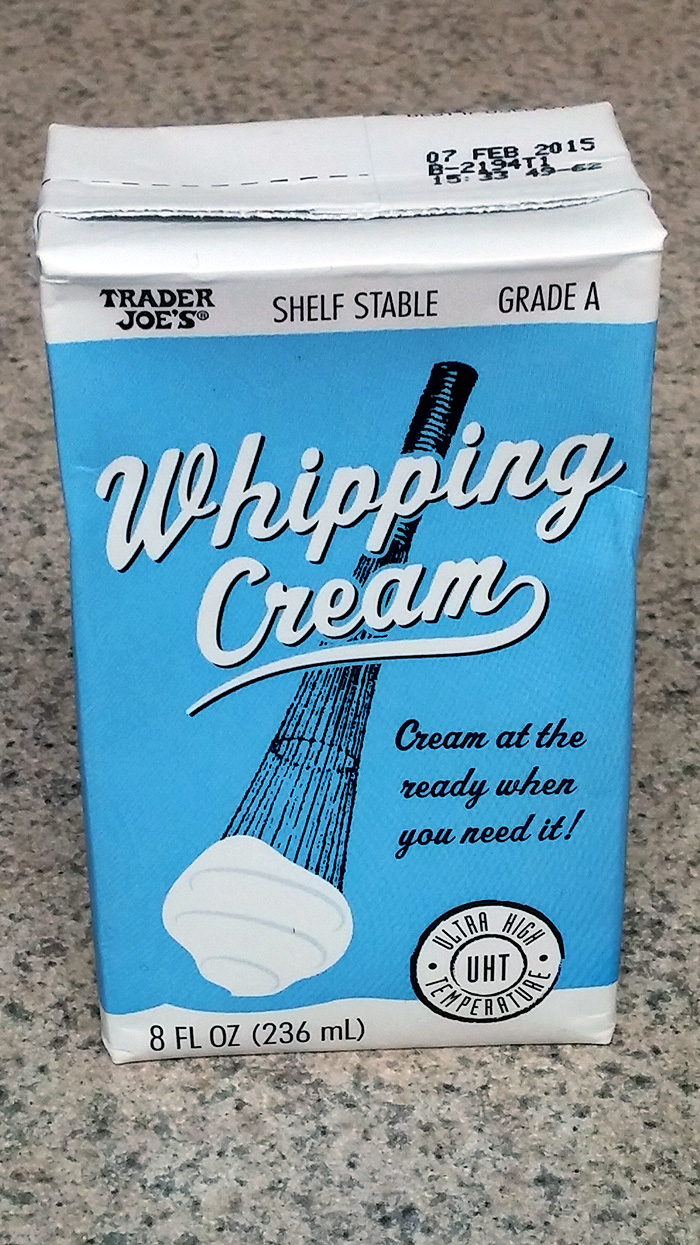
I forgot to include this in the picture, which I used instead of Cool Whip:
– Pumpkin: Either a small roasted pumpkin or canned pumpkin puree
– Pumpkin Pie Spice
– 14 oz Sweetened Condensed Milk
– 1/2 sleeve of graham crackers (I used a full one, waaayy too much)
– 1/2 a stick of butter
– 2 tablespoons of brown sugar
– 2 tablespoons of white sugar (or substitute)
– a package of cream cheese softened to room temp
– a package of cheesecake flavored Jello (I could only find sugar-free, but I assume it comes in sugar-full as well)
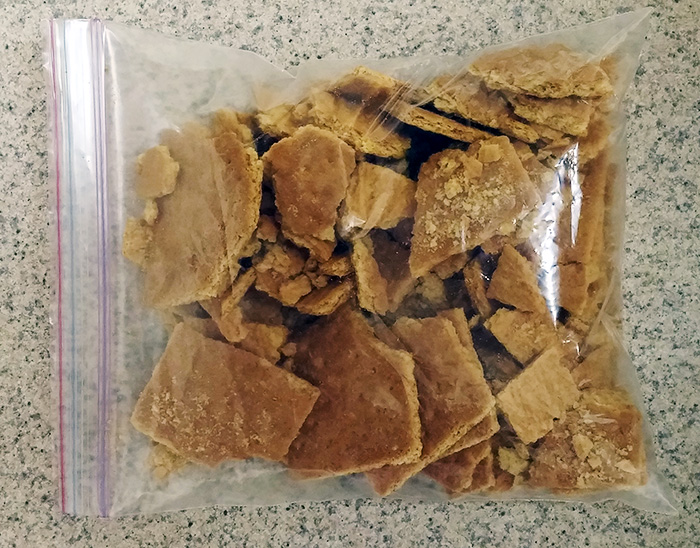
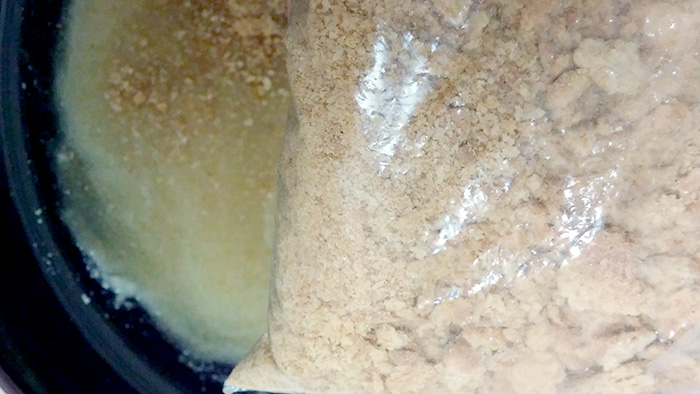
Step 2: Mash Graham Crackers
So, if you have a food processor, this is a great chance to use it. However, if you don’t, a ziplock baggie and your hands will do just fine. Graham crackers are inherently soft and splinter easily. I broke them up before putting them in the baggie, and then rolled them around until they broke down in to smaller bits. Eventually I got a whole in my ziplock which was a bit of a nuisance, so I would suggest potentially doubling up on the ziplocks.
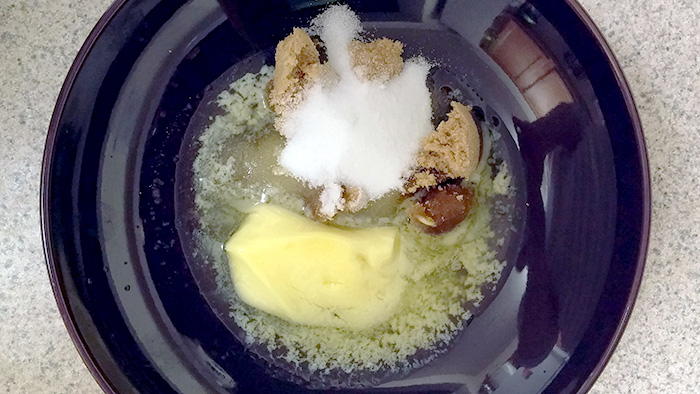
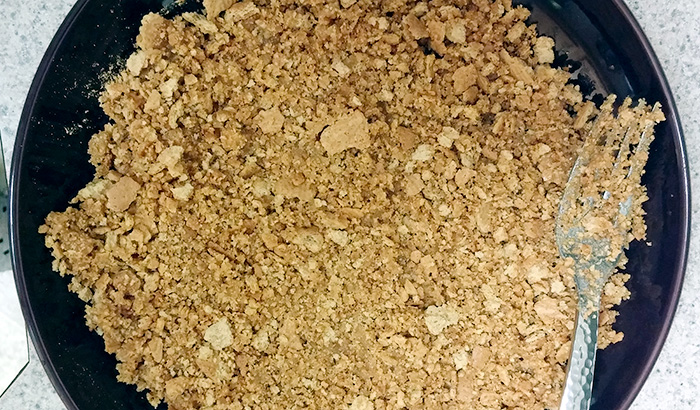
Step 3: Combine Crust Ingredients
Take the 1/2 stick of butter and melt it real quick in the microwave. I usually do half power in the microwave for 20 seconds on room temperature butter, and this works for me. Add the 2 tablespoons of white and brown sugar. Mix this around until evenly distributed, and then add your crushed graham and combine.
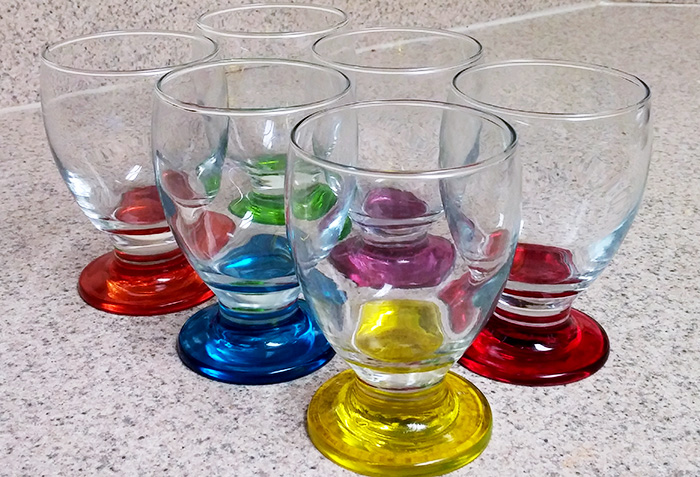
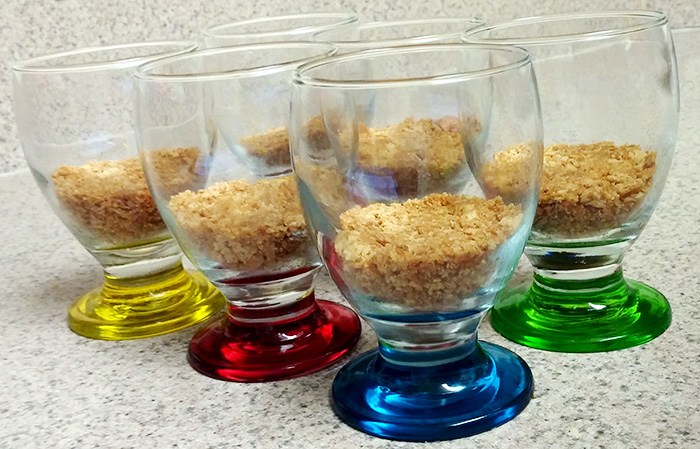
Step 4: Mold your crust!
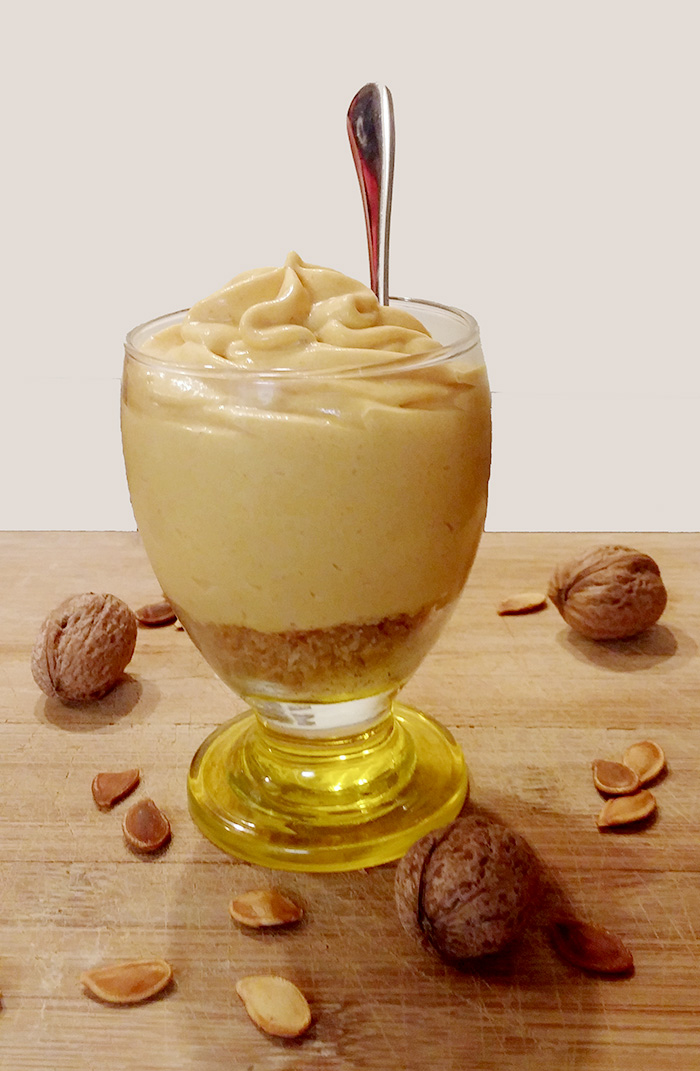
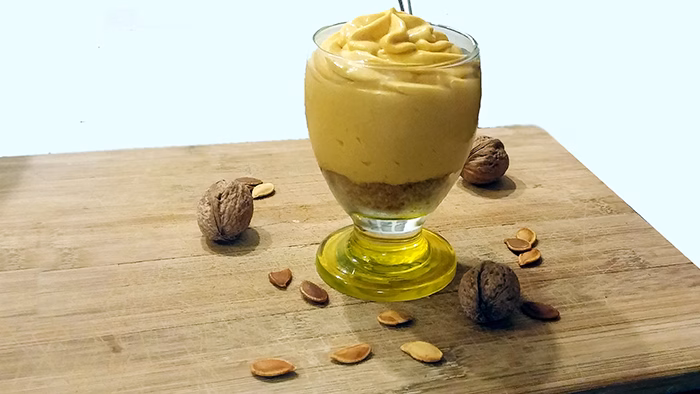
I chose to put this in pretty glasses like the pin I saw. You could theoretically put it in just about any serving dish, but these are nice and festive. Take scoops of the graham mix, and put in to your cup. Here is where it can get a little tricky- my graham bits were sliding all around the glass when I tried to push it down with my fingers, so I ended up using the bottom of a shot glass to mash it down. Once you have the crust assembled, you can stick them in the refrigerator while you prepare the rest of the filling.
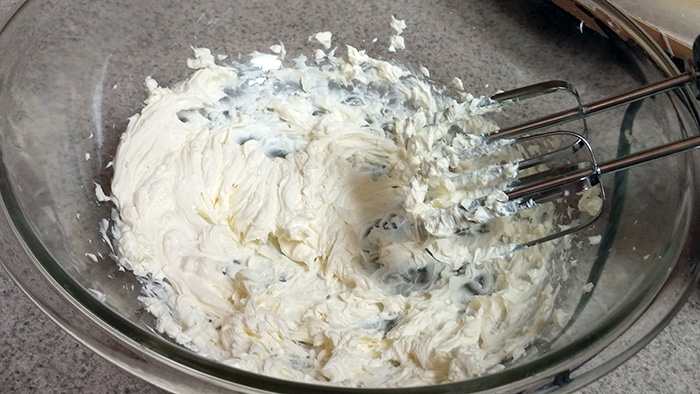
Step 5: Whip the cream cheese!
This is the point where a fancy stand mixer and paddle attachment were called for, at which point I scoffed. Certainly, this is possible without advanced technology? I just whipped my slightly-warmer-than-room-temperature cream cheese until light and fluffy. In retrospect, I probably could have just bought whipped cream cheese and used that.
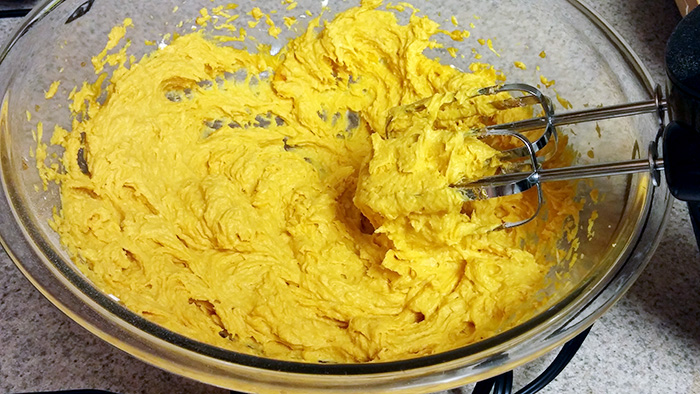
Step 6: Add the fun stuff
A few good dashes of pumpkin pie spice, the can of pureed pumpkin or roasted pureed pumpkin, and the instant jello mix can now be added to the whipped cream cheese. Mix it together really well until peaks form, like you’re making whipped cream.
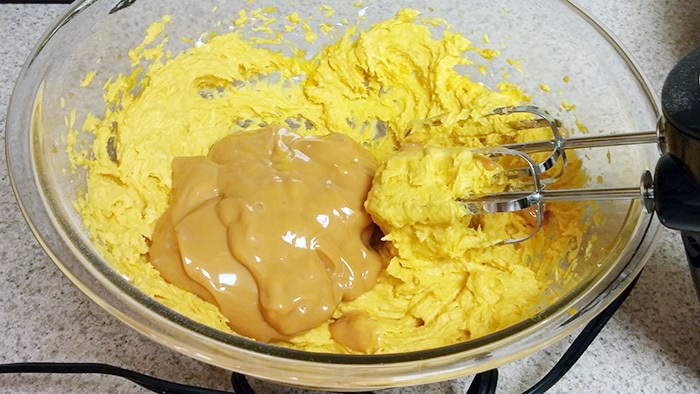
Add the can of sweetened condensed milk, mix it thoroughly.
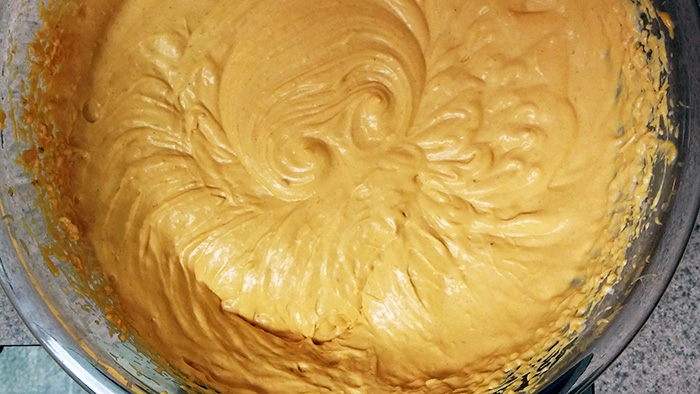
Add the whipped cream now and whip this together as if you are making whipped cream. The original recipe calls for Cool-Whip here. There are two differences that using real Whipped Cream causes in the recipe. Firstly, it’s not as low-calorie. Secondly, it doesn’t hold it’s shape as well as the original recipe, so it doesn’t go in to a piping bag well. However, I find that it is a little better tasting, much creamier, and more like an actual cheesecake. Whip until soft peaks form like the picture below:
Step 7: Spoon or pipe in to cups, or just eat it out of the bowl!
At this point, you have a choice to make. You can spend some extra effort piping it in to the cups, or you can just spoon it in. If you are going to use a piping bag, put the pumpkin mixture in to the bag and leave it in the refrigerator for at least an hour. Otherwise, the mixture won’t hold any of it’s shape.