12 Days of DIY: How To Make Peppermint Bark
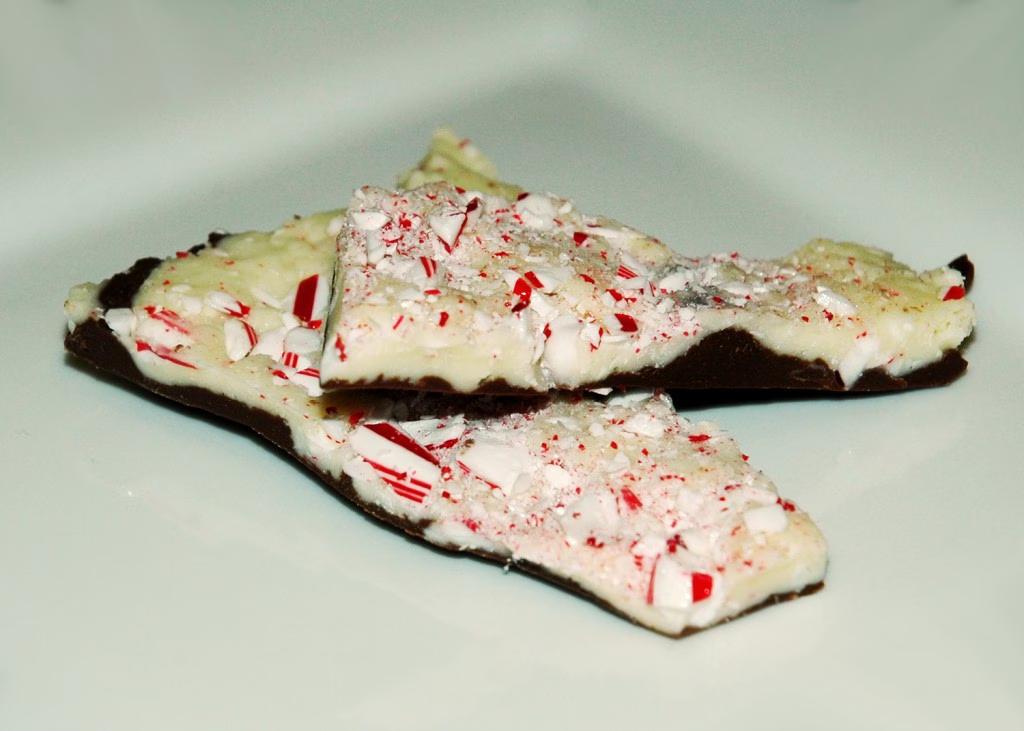
With the snowstorm last night, I was in the mood for something a little sweet to warm up the cold chill in our home. Ultimately, I decided to blast some holiday music and create a little Peppermint Bark out of the chocolate chips and candy canes that I had around the house. This delicious DIY is super easy to make, requires very few ingredients, and tastes fantastic! After the holidays, it is a great project to get rid of extra candy canes… they won’t last for long this way!

Click more to find out how to make peppermint bark!
How to Make Peppermint Bark
Things you need:
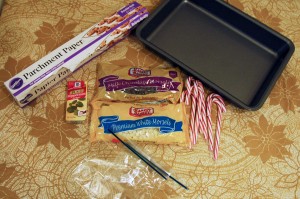
- Parchment Paper (tinfoil works too)
- semi-sweet, dark, or milk chocolate
- white chocolate
- peppermint extract
- candy canes
- 2 zip-lock bags
- spatula or spoon
- a baking sheet or pan
- pot to boil water in
- bowl that you can place inside that pot
1.) Assemble your ingredients and tools.
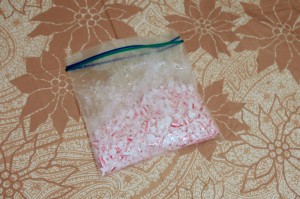
2.) Unwrap the candy canes (however many you have; more will be crunchier, less will be less crunchy), and stick them in a ziplock bag, making sure to squeeze out any extra air. Place that zip-lock bag in an additional bag, just to be safe. Crushed candy canes are sharp! I didn’t seal my second zip-lock bag.
3.) Using something blunt and probably heavy, mash your candy canes until they are nicely processed. Alternately, you can just stick them in a food processor, but this is more fun. I used a mason jar candle to mash my candy canes.
2.) Fill your pot with a bit of water, and put it on medium heat. Put a bowl that will fit your chocolate inside of that pot, in the water: try to make sure the water won’t overflow the bowl when you stir it, but don’t let the bowl sit directly on the bottom of the pot or your chocolate will get too hot too fast.
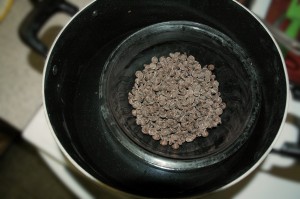
3.) Put your darker colored chocolate in the bowl, stirring continuously until melted smooth. If you let the chocolate overheat, it will get lumpy, sticky, and hard to spread. Lower the heat on your pot if you see your chocolate melting too fast. You will notice that my chocolate isn’t as smooth as it could be when I pour it in to the pan- I am still getting used to using an electric stove after having a gas one for so many years!
4.) Pour your chocolate on to your baking sheet (I used a pan, fresh out of baking sheets) on top of the parchment paper and smooth it out in to one long layer. Update: Let this layer sit for a little while to cool off and solidify, or stick it outside; one of our clients made our recipe and graciously let me know that when it is still too melted, the layers run together!

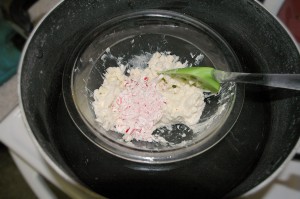
5.) Wash out your bowl and start again, this time with the white chocolate. As it starts to melt, add in 1/2 of your crushed candy canes and a dollop of peppermint oil. Keep stirring until smoothed out (again, don’t let it overheat or it will start to get tough and lumpy)
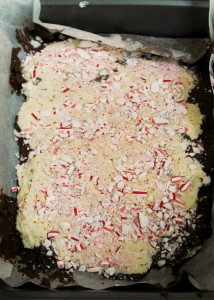
6.) Once melted, pour on top of the darker chocolate layer on your baking sheet.
7.) Shake out the rest of your candy cane pieces on top of the new layer, and press them gently in to the white chocolate layer.
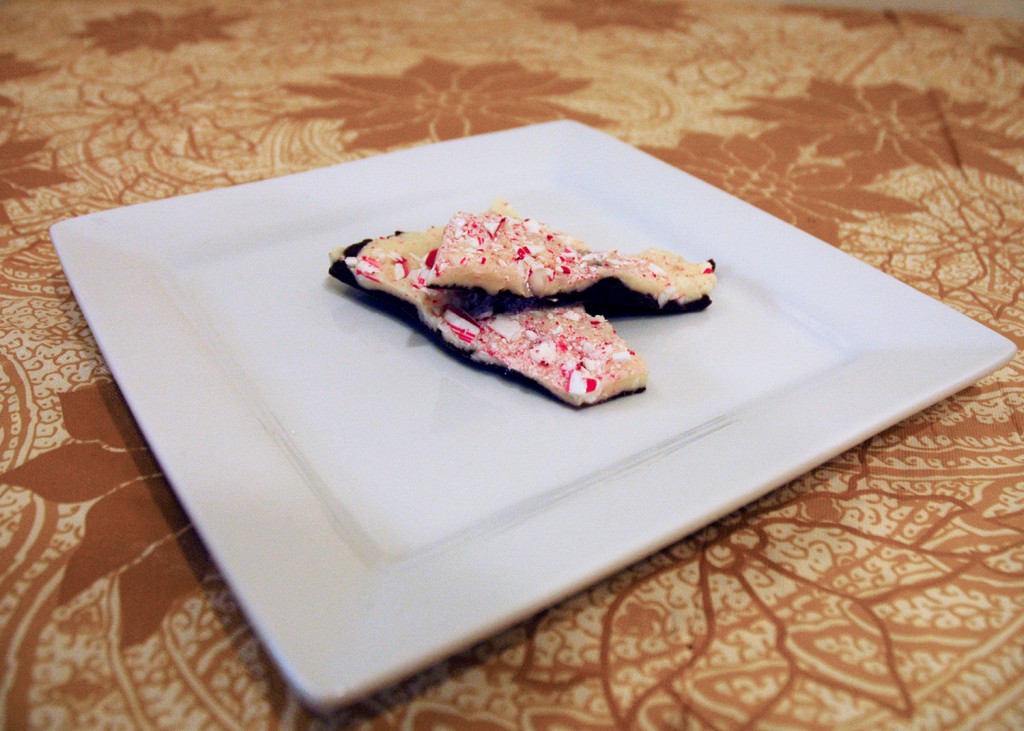
8.) Break up your peppermint bark! It’s not supposed to be in neat squares, it’s supposed to be irregular and broken looking.
9.) Eat it. It is delicious! Package it up for a great gift if you can’t let yourself stay around all that sugar, or keep it around on the counter at home to continuously pick at like I do.
Take a look at yesterday’s DIY Glass Ornaments
…or Monday’s Snowflake Curtain!