DIY Easy Halloween Party Ideas: Candy Bark

Did you miss the 12 Days of DIY? Here’s something to tide you over until this December:
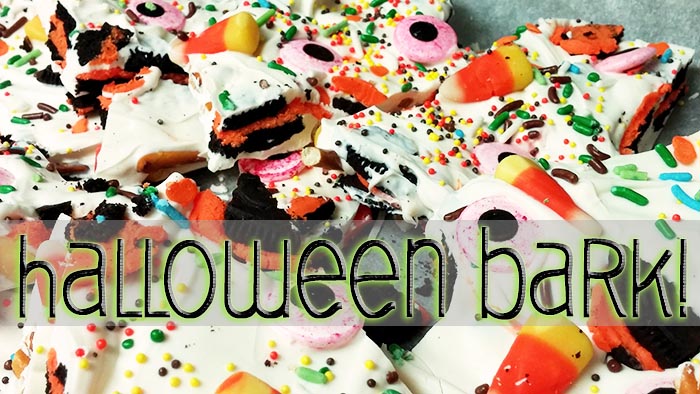
For anyone who missed my crafty DIY items, my son and I tackled a couple over the weekend. He makes a great little helper! The first project we took on was something I found on Pinterest: Halloween Bark! It makes a great Halloween party idea, because it is very colorful and full of fun things. I made Peppermint Bark during the 12 Days of DIY which was a huge hit, so I thought this fit right in. This candy is a little bit sweeter, as it uses entirely white chocolate and no dark chocolate or peppermint. To shake it up, you could definitely follow the same process with the dual-chocolate that I did in that post.
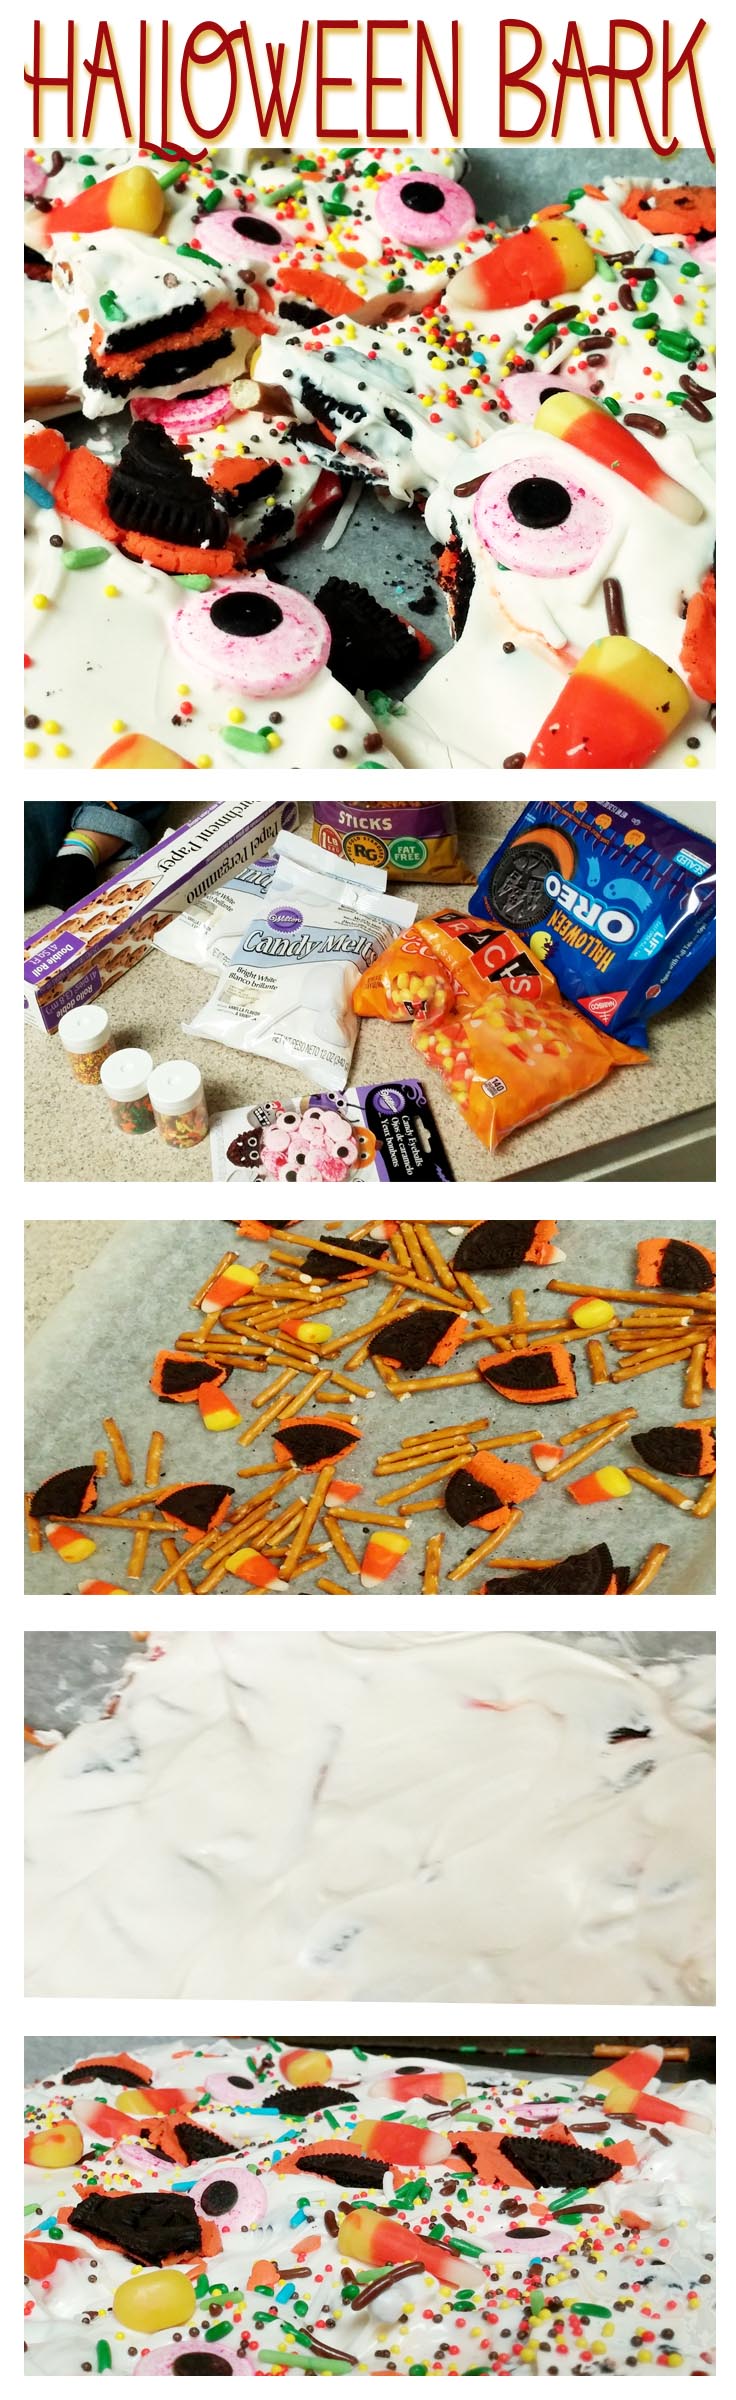
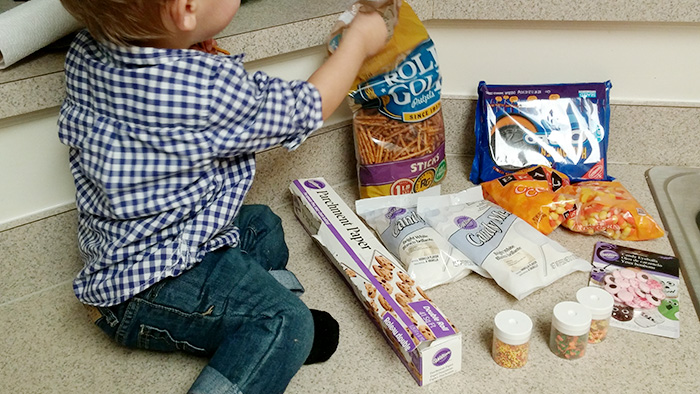
Step 1: Assemble your ingredients.
– parchment paper
– Pretzels (I used sticks, but you could easily use waffles or regular pretzel shapes)
– Oreos (colored ones are best, I used orange)
– Candy Corn
– Candy Eyeballs (my son LOVED these)
– Sprinkles
– White Chocolate
– A helper (Optional item: may cause disappearing ingredients so use with caution)
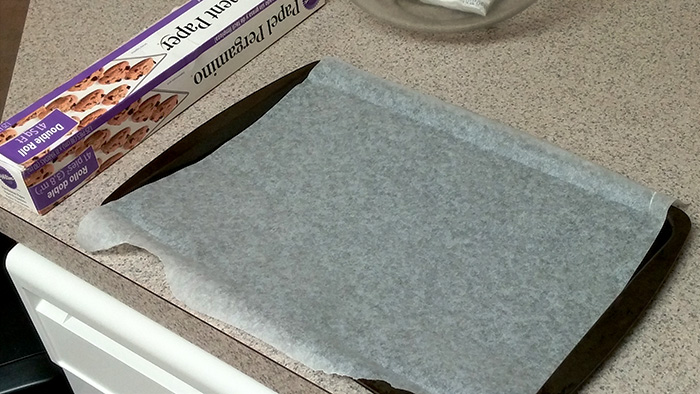
Step 2: Cover a flat baking sheet with parchment paper.
This will make your candy easy to separate and break. Parchment paper can be found in the baking aisle near the cupcakes in most grocery stores.
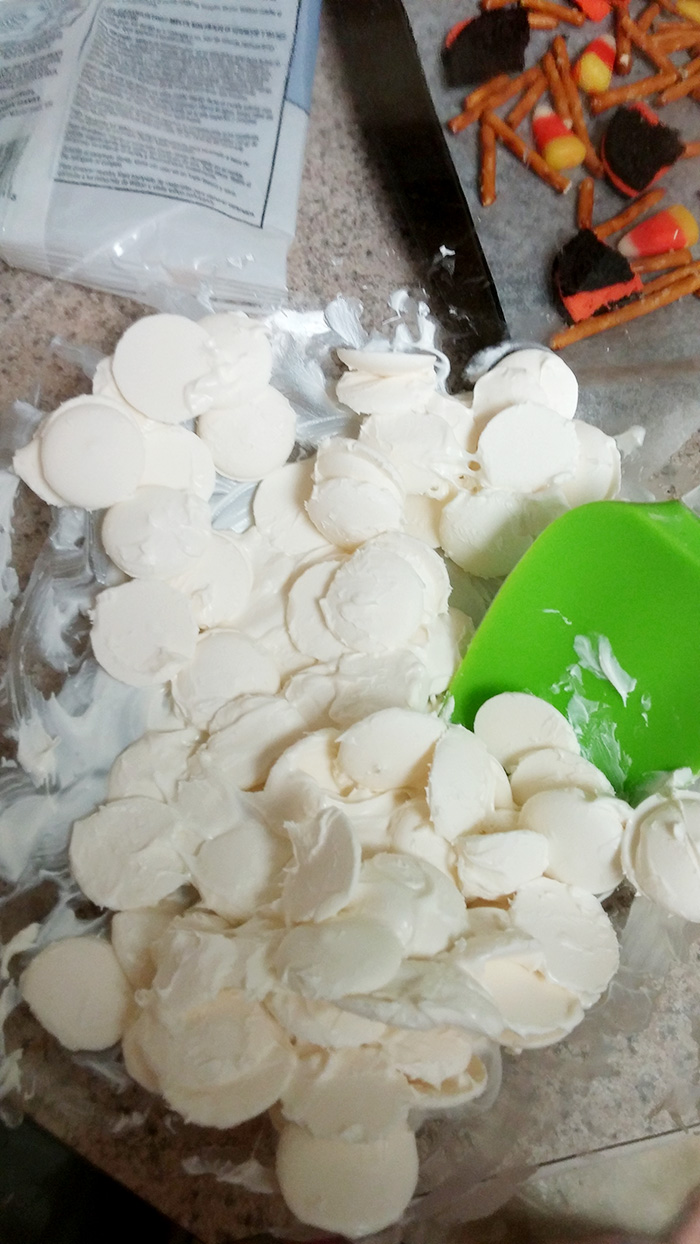
Step 3: Melt your chocolate.
I used a microwave to melt my chocolate this time, and it was much easier for me than stovetop. The way that I accomplished this was to place it in a microwave-safe glass bowl at 50% power for 1 full minute, and stir with a rubber spatula. Then, I placed it in the microwave at 30 second increments at the same 50% power until melted. White chocolate can be fussy, and gets hard to manipulate if you over-cook it.
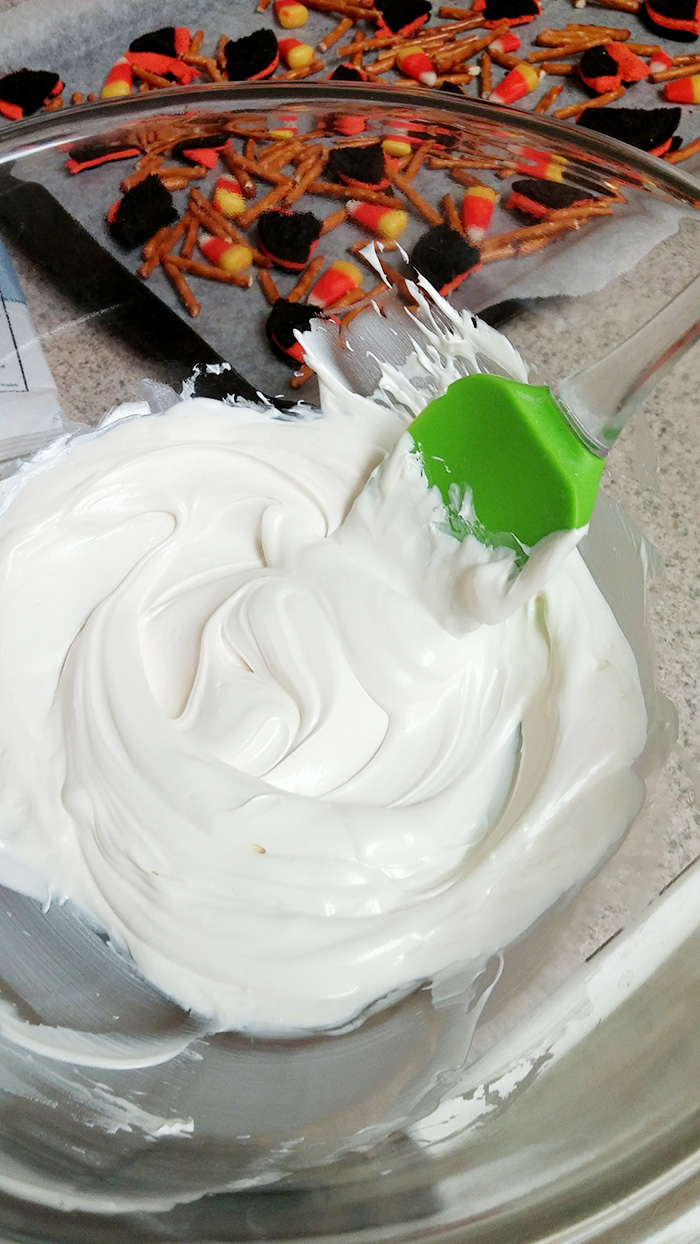
Step 4: Spread bits of pretzels, oreos, and candy corn across your parchment paper.
I highly suggest doing MORE of all ingredients than I did in mine- I think that a higher ratio of pretzels would have been tastier in my bark. The white chocolate is very sweet and more savory would have been a good touch. If you are a good multi-tasker, you can complete this task in the middle of melting your chocolate in the microwave.

Step 5: Spread your white chocolate evenly over the bits of pretzels/oreos/candy corn.
This is actually much harder said than done. It is easiest if you get your chocolate perfectly liquid and not solid at all, otherwise your ingredients get all balled up and pushed in to a corner in the pan. If this happens, just make sure that the chocolate is evenly mixed, and then push all the ingredients back in to the pan with your spatula, forming it into a flat surface.
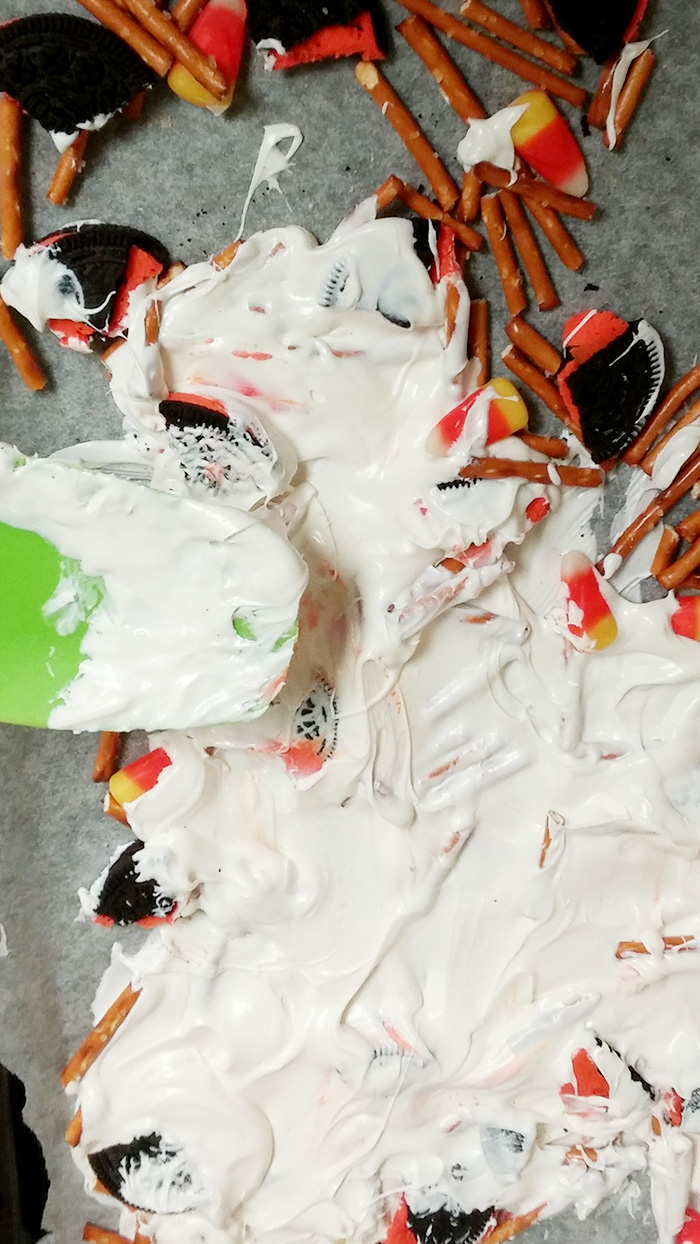
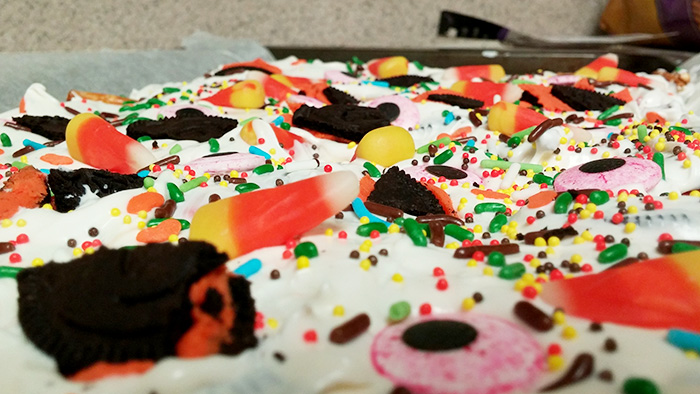
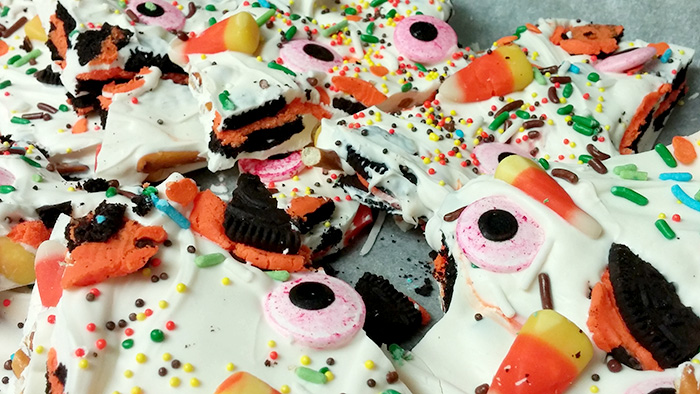
Step 6: Sprinkle a few extra oreos and candy corn on top for visual effect, and then add your candy eyeballs and colored sprinkles.
You can experiment with sprinkle colors: I ended up adding in some blue and green sprinkles because it looked a little more visually interesting than just the fall colors. I found the eyeball candy at the art store, however I also saw them at Target in the baking section this year. They’re about $3 for a pack.
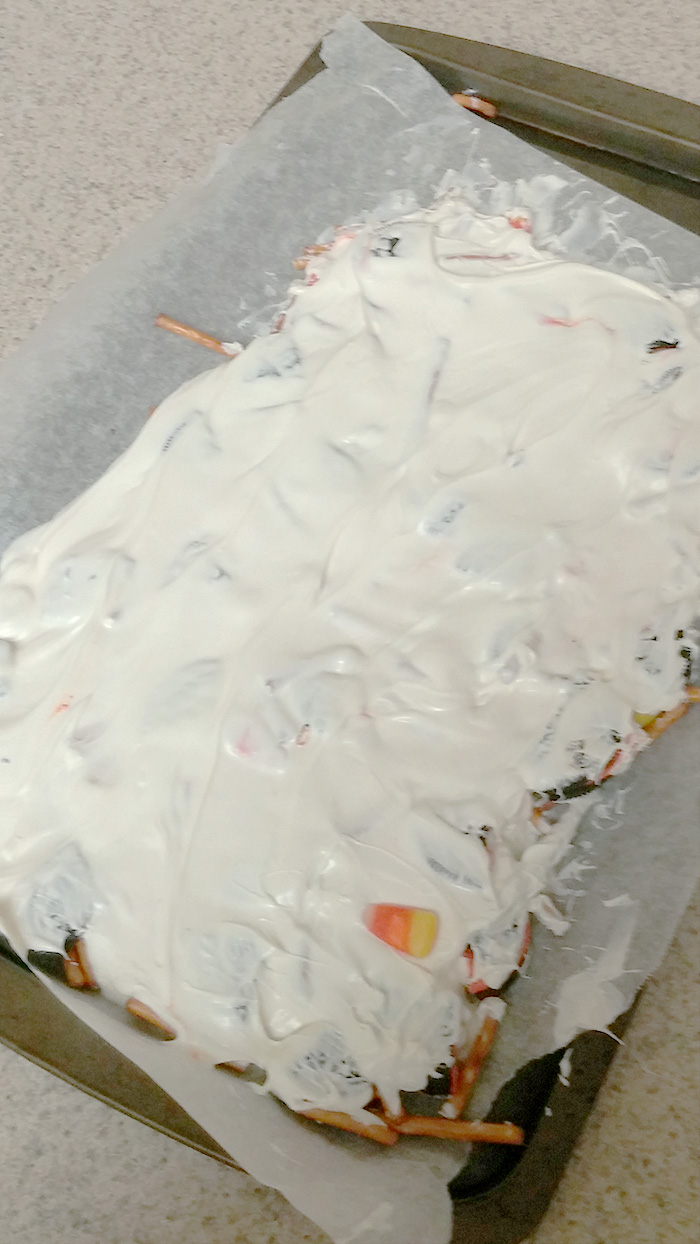
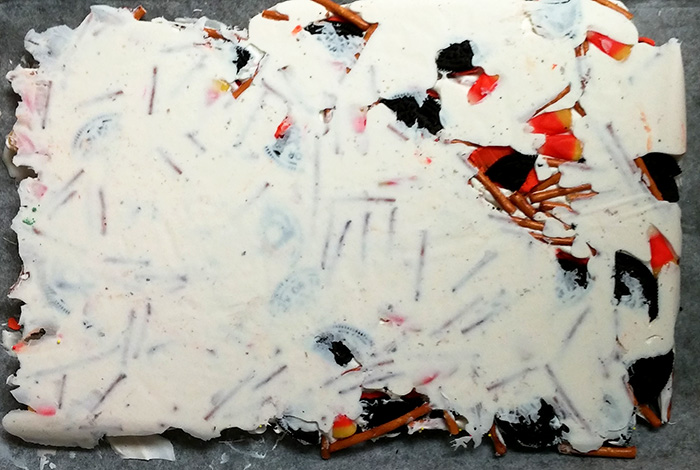
Step 7: Stick it in the refrigerator for a bit.
You could also stick it outside if it is sufficiently cold, however it was about 70 degrees when I made this, so that would not have helped.
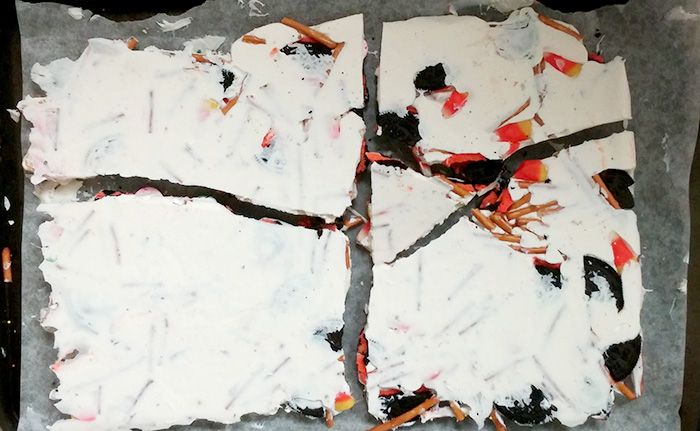
Step 8: Once the bark has hardened, remove from refrigerator and break in to bits.
You should easily be able to pick the bark up as one piece and flip it over. At this point, I leaned in to the center of it with my hand, and it fractured nicely in to four pieces, which I then repeated leaning in to in order to break smaller pieces off of it until relatively snack-sized.
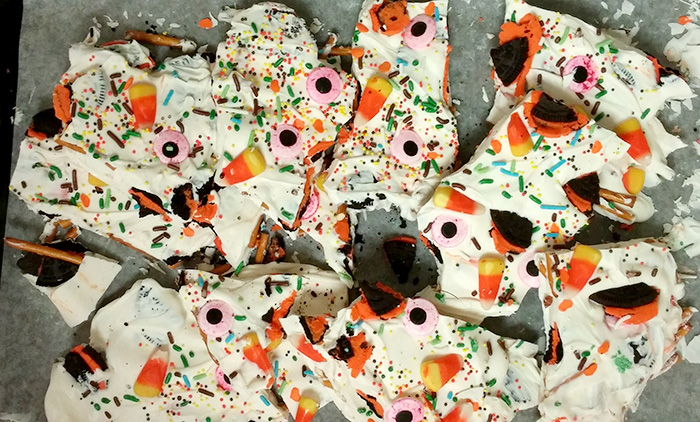
Woohoo! You did it! See? Pretty easy. Great Halloween party idea, or to bring in to the office, or even to just have around (albeit a tad dangerous to have it all to yourself….)
Coming Soon: Keep checking in for other DIYs we had the time to complete this weekend for Halloween decorations, pumpkin crafts, and a curried pumpkin and butternut squash soup recipe!
OR
Check out some of the other DIY tutorials we’ve hosted:
How to make a snowflake
DIY Rosemary Peppermint Scrub
Cork Fire Starters
Tissue Paper Pom Poms